Microsoft Teams Adapter
To enable Microsoft Teams as an engagement adaptor, a number of steps need to be followed:
- Configure your endpoint
- Register an Azure Bot Channel
- Configure Microsoft teams in your organization
Prerequisites
- You will need a working bot. Use our getting started tutorials if you need one. Make sure it is working by testing it using the default endpoint before proceeding.
- Admin access to Azure services with the ability to create new app registrations.
- Admin access to teams with the ability to add new custom apps.
Create a new MS Teams Endpoint for your Bot
- Set the endpoint target to be for your working bot.
- Change the endpoint type to Microsoft teams and save it. You will need this URL.
Adding OAuth To Your Microsoft Teams Bot
- This article describes how to configure OAuth on your Bot in Azure - Configuring OAuth
- TLDR - (Detailed information contained throughout the article)
- An App Registration is required if you are connecting to an API hosted within your Microsoft Account
- If the identity provider exists outside of your Microsoft infrastructure, this must be configured
- As described in the article, be sure that your application is aware of the correct redirect URL
- Create an OAuth Connection on the Settings page of your Azure Bot, there is a dropdown that allows you to select different Identity providers, configuration varies but this is where you configure the
Client-IDandClient-Secretfrom the OAuth Protocol - Include the connection name in your secret as
oauthConnectionalong with yourappIdandappPasswordof the Bot
- An App Registration is required if you are connecting to an API hosted within your Microsoft Account
- TLDR - (Detailed information contained throughout the article)
- Note the Connection Name that will be required to make your secret
- When using OAuth, your Endpoint must be configured with an Engagement Type of MicrosoftBotFrameworkNativeOAuth
Example Endpoint Configuration
An Endpoint can be configured to allow communication between Microsoft Teams and ServisBOT. To do so, the EngagementType and EngagementConfig must be configured:
For a Teams Bot without OAuth configured:
{
  "Address": "myorganization-ClaimsBot",
  "OutboundBotReference": "ClaimsBot",
  "InboundBotReference": "ClaimsBot",
  "Organization": "myorganization",
  "Useragent": "useragent",
  "EngagementType": "MicrosoftBotFramework",
  "EngagementConfig" : {
    "Secret": "srn:vault::myorganization:secretdoc:ms-teams-engage",
    "Public": {
      "TenantId":"" //Your microsoft tenant ID
    }
   },
  "Updated": 1562752374780,
  "TargetBotReference": "ClaimsBot",
  "Status": "online",
  "AllowedDomains": [
    "*.production.helium.servismatrix.com",
    "*.production.helium.servismatrixcdn.com",
    "*.servisbot.com",
    "https://servisbot.com"
  ],
  "Name": "myorganization ClaimsBot default endpoint",
  "Created": 1562752374780,
  "Srn": "srn:botnet:eu-1:myorganization:endpoint:myorganization-ClaimsBot"
}
For a Teams Bot with OAuth Configured:
{
  "Address": "myorganization-ClaimsBot",
  "OutboundBotReference": "ClaimsBot",
  "InboundBotReference": "ClaimsBot",
  "Organization": "myorganization",
  "Useragent": "useragent",
  "EngagementType": "MicrosoftBotFrameworkNativeOAuth",
  "EngagementConfig" : {
    "Secret": "srn:vault::myorganization:secretdoc:ms-teams-engage",
    "Public": {
      "TenantId":"" //Your microsoft tenant ID
    }
   },
  "Updated": 1562752374780,
  "TargetBotReference": "ClaimsBot",
  "Status": "online",
  "AllowedDomains": [
    "*.production.helium.servismatrix.com",
    "*.production.helium.servismatrixcdn.com",
    "*.servisbot.com",
    "https://servisbot.com"
  ],
  "Name": "myorganization ClaimsBot default endpoint",
  "Created": 1562752374780,
  "Srn": "srn:botnet:eu-1:myorganization:endpoint:myorganization-ClaimsBot"
}
You will need the URL to your endpoint in order to configure your bot in Azure and MS Teams.
Create Bot Service in Azure
-
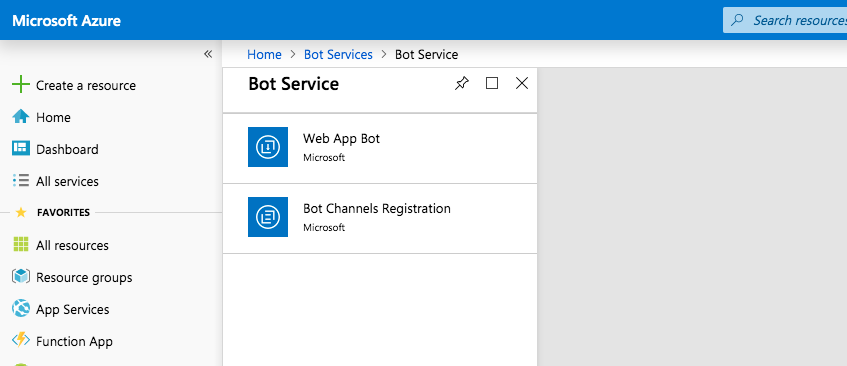
Login into the Azure portal and search or navigate to Bot Services, if you do not already have a Bot Channel registered, click Bot Channels Registration.
-
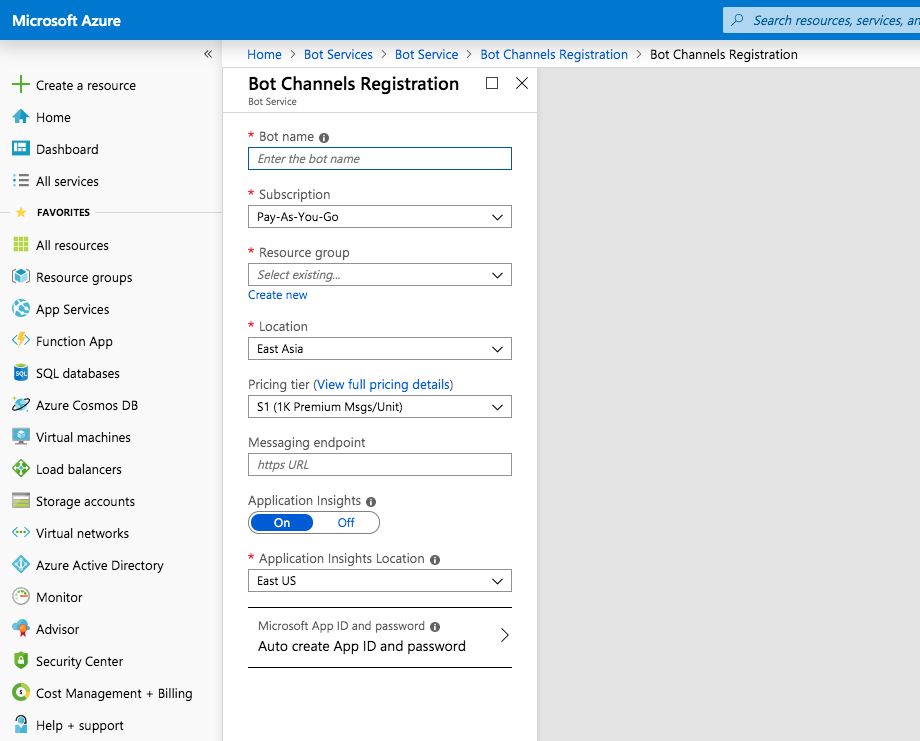
Fill out the fields and options to create a registration.
-
Grab the endpoint ID and add it to our engagement adapter domain. Bot creation on the Azure portal can take some time to build.
The Messaging endpoint takes the form:
https://engagement.<sb-region>.servisbot.com/picard/v1/engage/<endpoint-address>
Example for the current public ServisBot Regions:
https://engagement.eu-1.servisbot.com/picard/v1/engage/myorganization-ClaimsBothttps://engagement.us-1.servisbot.com/picard/v1/engage/myorganization-ClaimsBot
Add the MS Teams channel in azure
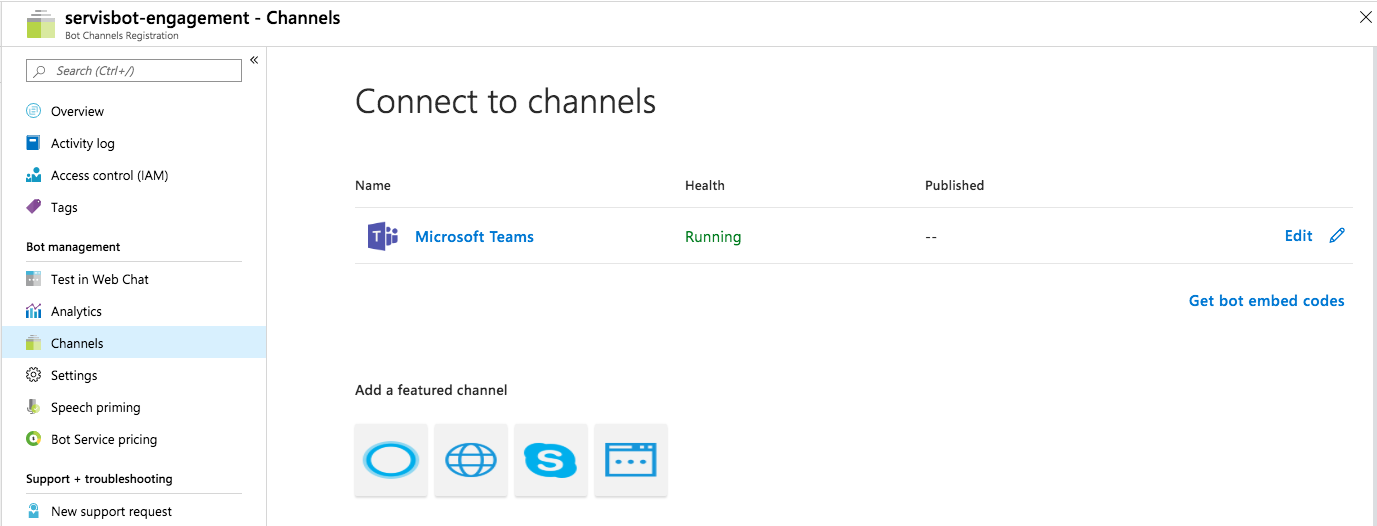
- After the Bot gets generated, navigate back to bot services
- In the channels tab, create a Teams channel
Tip
The Bot cannot currently communicate with the web chat.
Get Azure Credentials
- Navigate back to the bot services main page.
- Click on settings, next to your app id click on “manage” then go into the settings overview tab.
- Grab the Microsoft Application (Client) ID.
- Click on Manage. It will take you to the client secrets/passwords.
- Click on + New client secret button.
- Name this - Servisbot secret.
- Set it to expire according to your policies.
- Grab the password. Passwords will not be available if you refresh the page or come back to it later.
Setup MS Secret
- Create a new secret of type Custom JSON
For a teams bot without OAuth configured:
{
    "appId" : "d9b16107-02bd-4af8-80f8-4bbb3d369a7f",
    "appPassword" : "secureAppPassword1"
}
For a teams bot with OAuth configured:
{
    "appId" : "d9b16107-02bd-4af8-80f8-4bbb3d369a7f",
    "appPassword" : "secureAppPassword1",
    "oauthConnection" : "myOAuthConnection"
}-
The
appIdandappPasswordcome from the previous steps with the Azure Bot Channel Configuration. -
Edit the endpoint and assign your ms teams secret to it
-
Optional - Add your application ID into the tenantid field
Add Your Bot to MS Teams
- A bot manifest file is needed in order to add a bot into your teams account.
- The microsoft teams user needs Admin permissions in microsoft teams.
- You can check this by seeing under “Apps” in teams you have an “Upload App” Menu item at the bottom.
Create Manifest
- Log into Microsoft Teams
- Search for app studio

- Click install if you haven’t already used this app
- Now Create a new App by clicking on manifest editor and creating new app
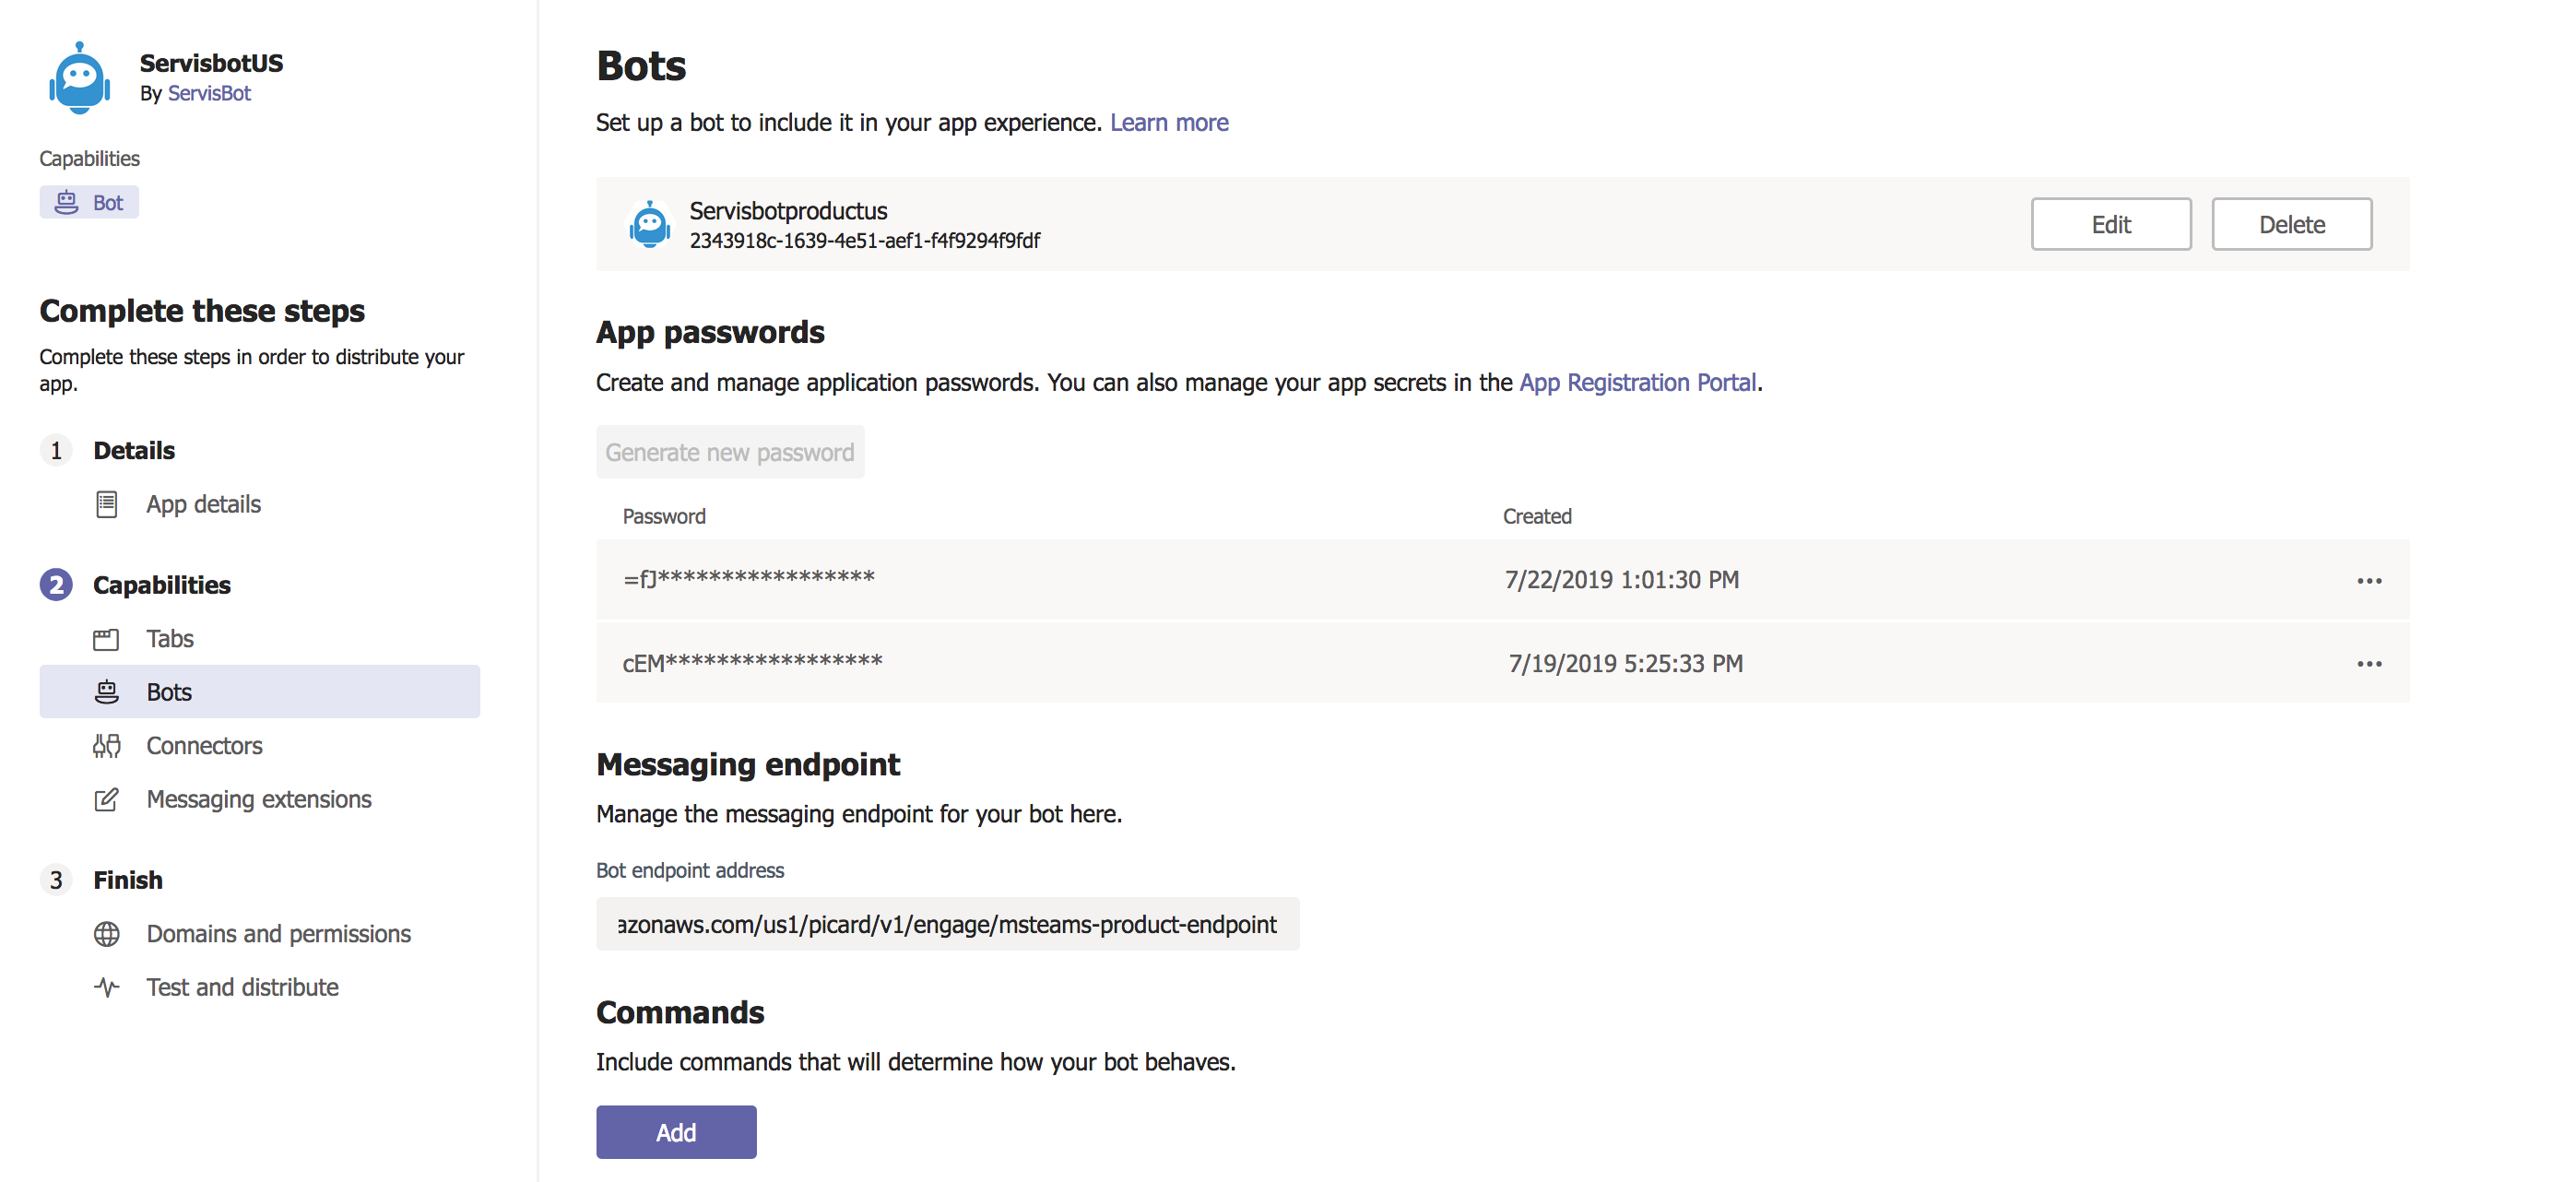
- Configure the App Details and add the Bot as a Capability
- If your Azure Bot and Teams are on the same account, select the bot from a dropdown, otherwise, use the AppId of the Azure Bot
- If using OAuth it is important that you configure the Domains and Permissions to include
token.botframework.com- If you do not include this, the Sign In button on the OAuth Card will not be able to pop open the authentication page
- Fill out all required fields
- upload an image for your bot
- 192x192 full color
- 32X32 transparent
- upload an image for your bot
Configure Azure Services BOT
- Navigate to the Bots Tab
- Click on “Setup”
- Select “Existing Tab
- Name it
- If the person configuring it in teams is the same account that has configured it in your azure account, then select
Select from one of my existing bots- Otherwise add in the bot ID of the bot that has been created in previous steps
- Enable scopes for Personal and Teams
- Verify that the messenger Endpoint to be the same as your Azure Bot Service
Install Your BOT
- Navigate to the “test and “Install”
- Click on the “Download” Button to get a manifest
- Navigate back to the Apps/Store section of teams
- Click upload a custom app and upload your manifest file
- You should then see you App and be able to Install it for yourself or your Team
- Search for the bot name in the teams search bar and test out the bot
- Click on install
- In order to fully launch the bot you will need to follow the Microsoft teams instructions for publishing a bot and filling out the necessary fields.
Examples
Using the OAuth Access Token in a BaaS inside Classic Flow
When using an OAuth enabled Teams Bot, a BaaS api-connector can be used with the access_token inside of a Classic Flow Worker.
If we create the following BaaS api-connector:
{
 "Persona": "https://website.com/myimage.png",
  "Alias": "graphapime",
  "Body": {},
  "Created": 1566326362571,
  "Description": "A secure graph",
  "Endpoint": " https://graph.microsoft.com/v1.0/me",
  "Headers": {
    "Authorization": "Bearer ${oauthToken}",
    "Content-Type": "application/json"
  },
  "Method": "GET",
  "Organization": "flowit",
  "RequestMapping": {
    "oauthToken": {
      "inputPath": "$.accessToken",
      "requestParameter": "oauthToken",
      "type": "requestHeader"
    }
  },
  "ResponseMapping": {}
}
The BaaS Node can be figured as illustrated:
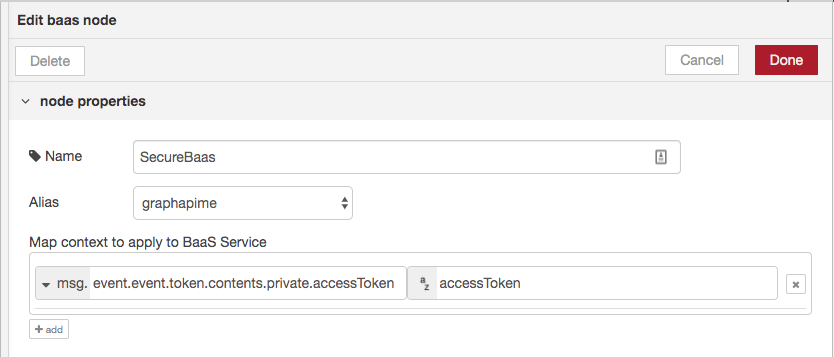
The access_token is accessed via msg.event.event.token.contents.private.accessToken. The response can then be accessed in msg.baas.graphapime in a subsequent node.
Note: this assumes your Bot is configured with access to the Graph API in the Azure Configuration.